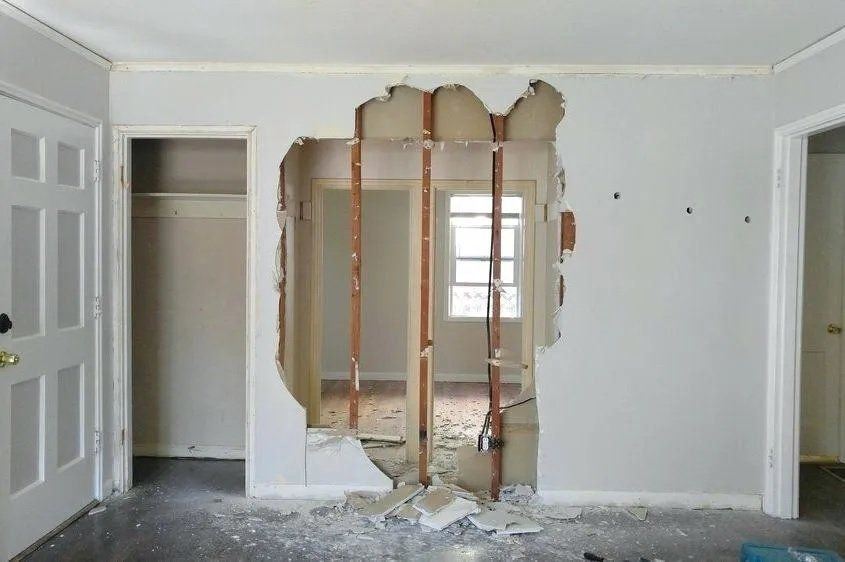
The importance of a flat, even subfloor prior to soundproofing
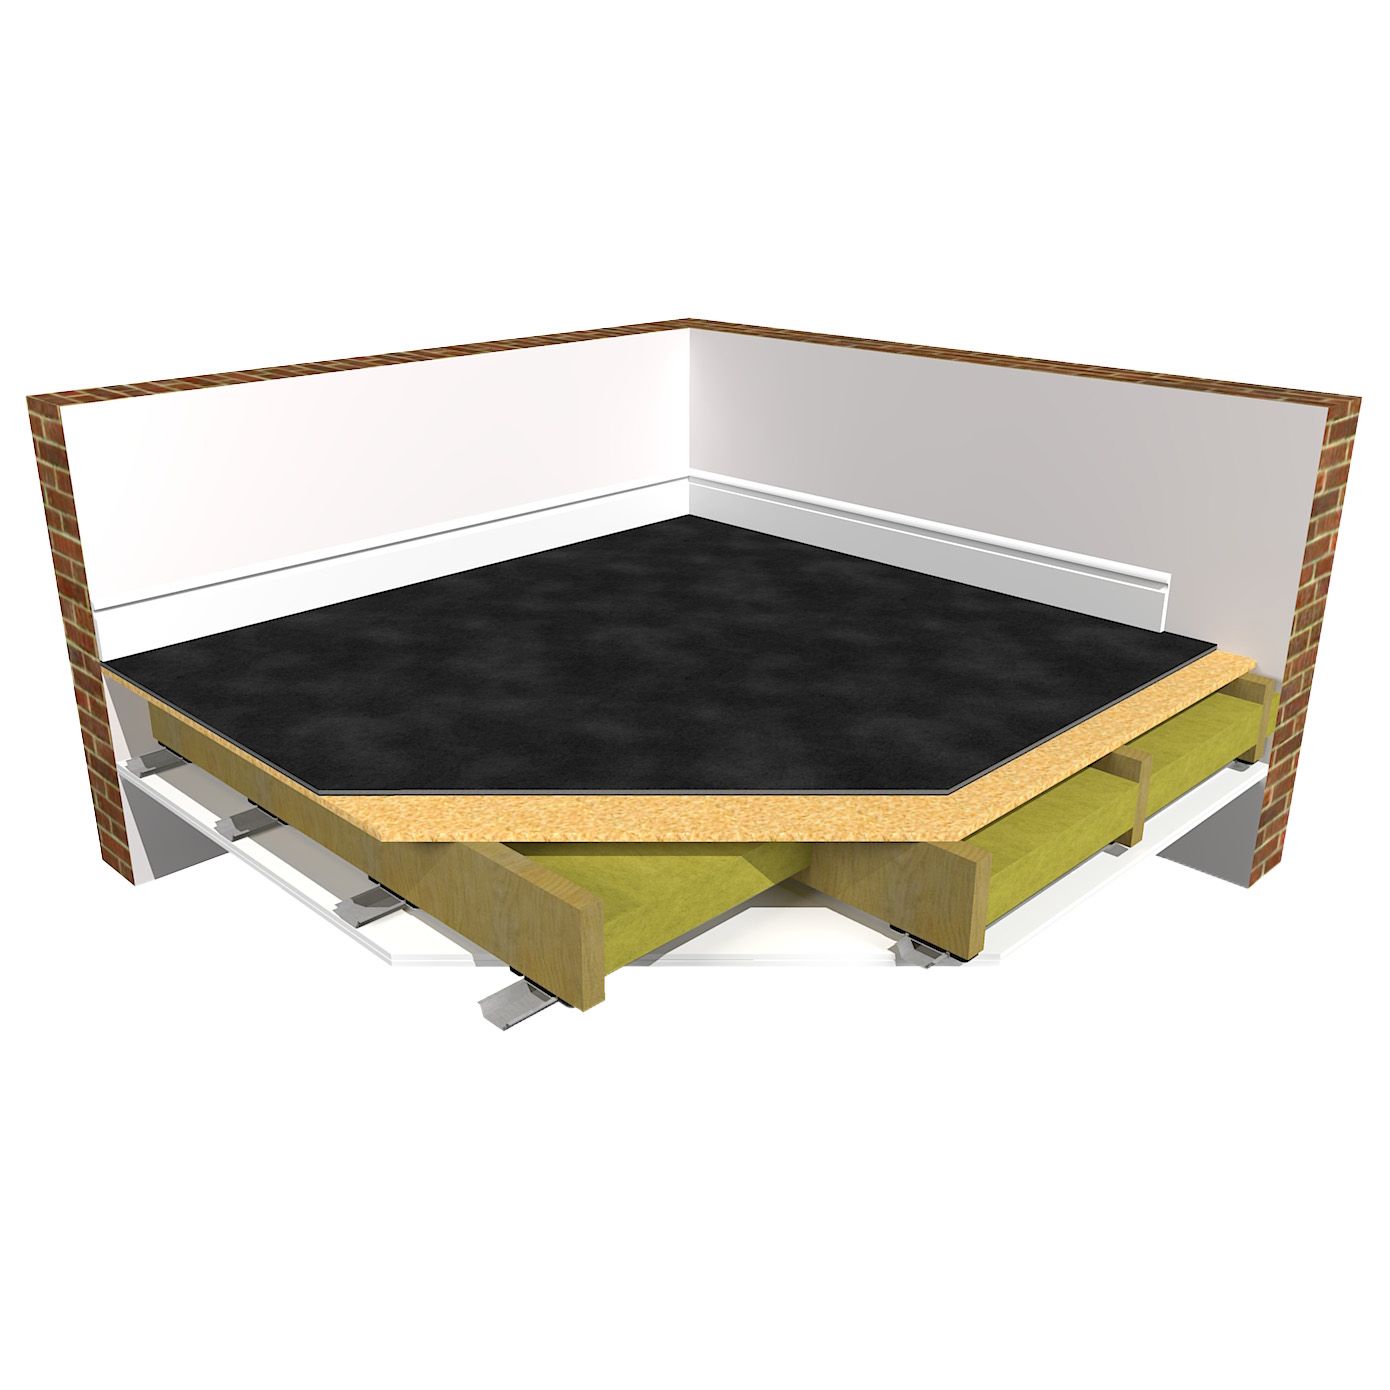
When soundproofing a floor to help block the unwanted noise of impact and airborne noise above travelling to the room below, or in blocking airborne noise in the room below travelling to the room above there are a number of options. These acoustic options depend on the level and type of noise needing to be blocked. The Soundproofing Store offers flooring solutions such as The SoundMat 2 Plus, SoundMat 3 Plus and Reverso SoundMat. The benefit of these noise insulation solutions for floors is in not only in their performance, but also in the incredibly easy installation and versatility to be used alongside any final floor finish.
An overview of SoundMat acoustic flooring solutions
Why the base floor should be flat and level
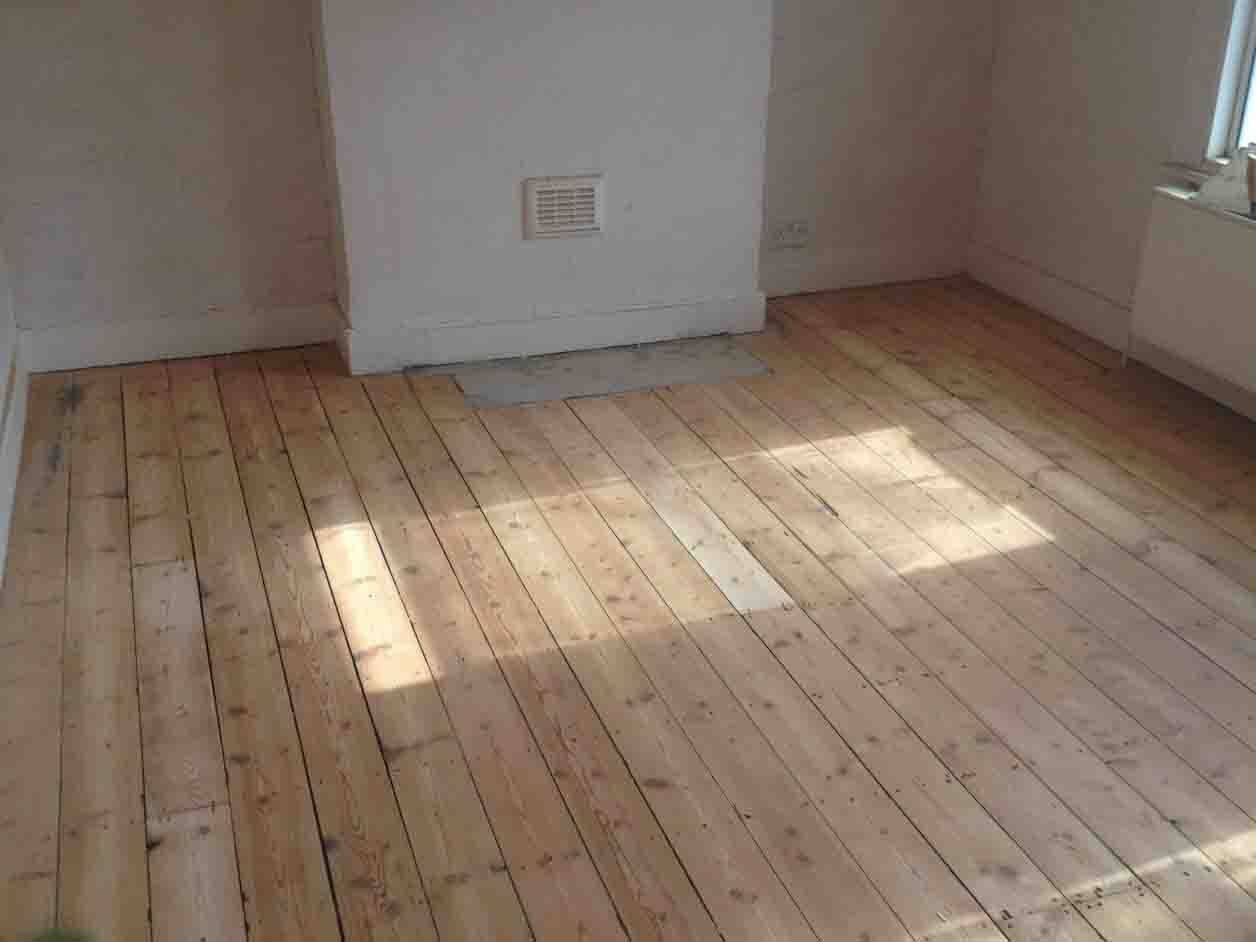
Prior to laying any SoundMats it is important that the base or subfloor is smooth, flat and level. Any irregularities with subfloors usually fall into two categories - general sloping that affects the entire floor and irregularities that interrupt the floor without affecting how level it is overall. There are several ways a DIYer can fix minor irregularities, whilst larger sloping issues might require a professional.
Before laying any soundproofing, it is important to:
- Replace any damaged floorboards
- Make sure to fill any gaps in the subfloor with acoustic sealant
- Ensure the subfloor is flat to provide a stable base for the acoustic flooring to be laid
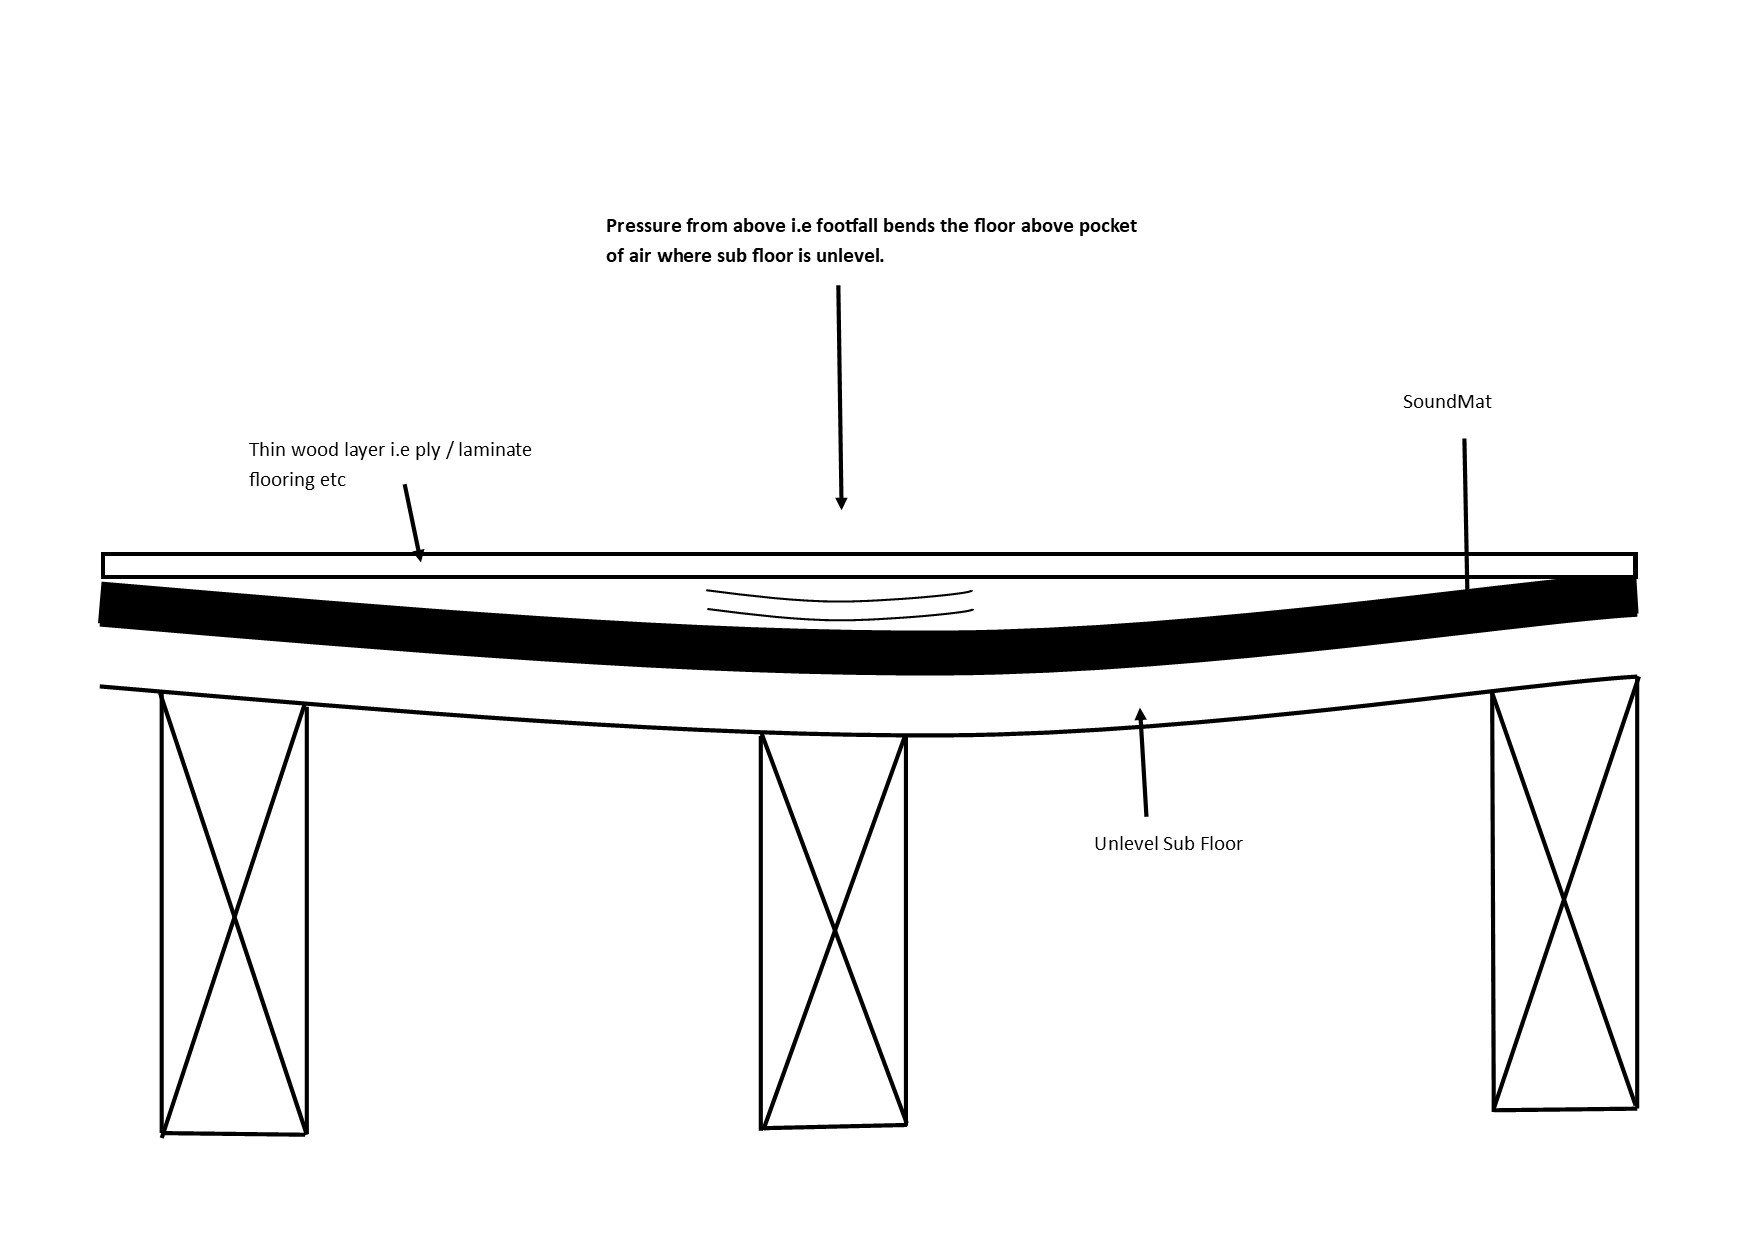
It might be tempting to think that laying soundproofing will magically rectify an uneven and damaged subfloor. Afterall, the final floor finish will be installed on top of the soundproofing right? Wrong! It is vitally important that the subfloor is level and flat. If the subfloor is uneven with any dips and rises, then there are a number of issues which can potentially arise:
- Potential failing of the final floor finish. Especially with the likes of ceramic tiles, which will probably see cracking in the grout or even broken tiles
- The final floor won't sit flat and any raised edges can be unsightly and also be a potential tripping hazard
Tips on how to ensure a flat and even subfloor
It's worth pointing out that a flat and even subfloor is an important requirement prior to laying any kind of hard floor final finish, such as tiles, wood and laminate, regardless of whether you are installing any soundproofing.
Tips to level a subfloor:
- Install a thick layer of tongue and groove over the top of the subfloor to make it more stable and then install the soundproofing
- Use a shallow self levelling screed. A plyboard or waterproof membrane is added on top of the subfloor and a wet screed is added. Due to it being a liquid, it levels into a flat even surface. A benefit of this is that is also adds more mass to the subfloor further helping to block airborne noise, whilst also sealing any gaps and resulting in a level subfloor. This is an ideal solution to be used on timber floors and is en effective solution as it achieves a great result with minimum height loss. Again any soundproofing, such as the SoundMats are then added on top of the dry screed.
Do carpets need an even subfloor?
In a perfect world, the recommendation would always be to have a flat and even subfloor. As mentioned, this is vitally important for hard final floor finishes. However, when it comes to carpet, it is less of an issue as SoundMats act as a luxury carpet underlay and the carpet will follow any minor undulations without cracking, or breaking.
What about an even base on top of the soundproofing
What happens if the subfloor has been made flat and level, floor soundproofing has been installed and you are ready to install the final floor finish? Carpets can be installed directly on top of the SoundMats, as they act like a luxury carper underlay, but what happens if you are installing a hard floor final finish., such as engineered wood, laminate, vinyl or tiles?
Below are examples of acoustic floor solutions which offer a different performance depending on the type and level of noise needing to be soundproofed. Let's find out which of them require overboarding?
- The most popular solution for loud levels of airborne noise and loud levels of impact noise for carpet final finishes would be the SoundMat 3 Plus.
- For loud levels of airborne and loud levels of impact noise with a hard final floor finish it would be the Reverso SoundMat. This is because when installed hard side up, the Reverso SoundMat does not require any form of over boarding prior to laying most hard floor finishes. (Neither does SoundScreed 28, which is a perfect solution when airborne noise is an issue but not impact noise).
- For SoundMat 2 Plus, SoundMat 3 Plus and ImpactoMat a 6mm over boarding layer needs to be installed on top of the soundproofing prior to laying a hard floor final finish.
Popular and proven floor soundproofing solutions
Soundproofing and over boarding
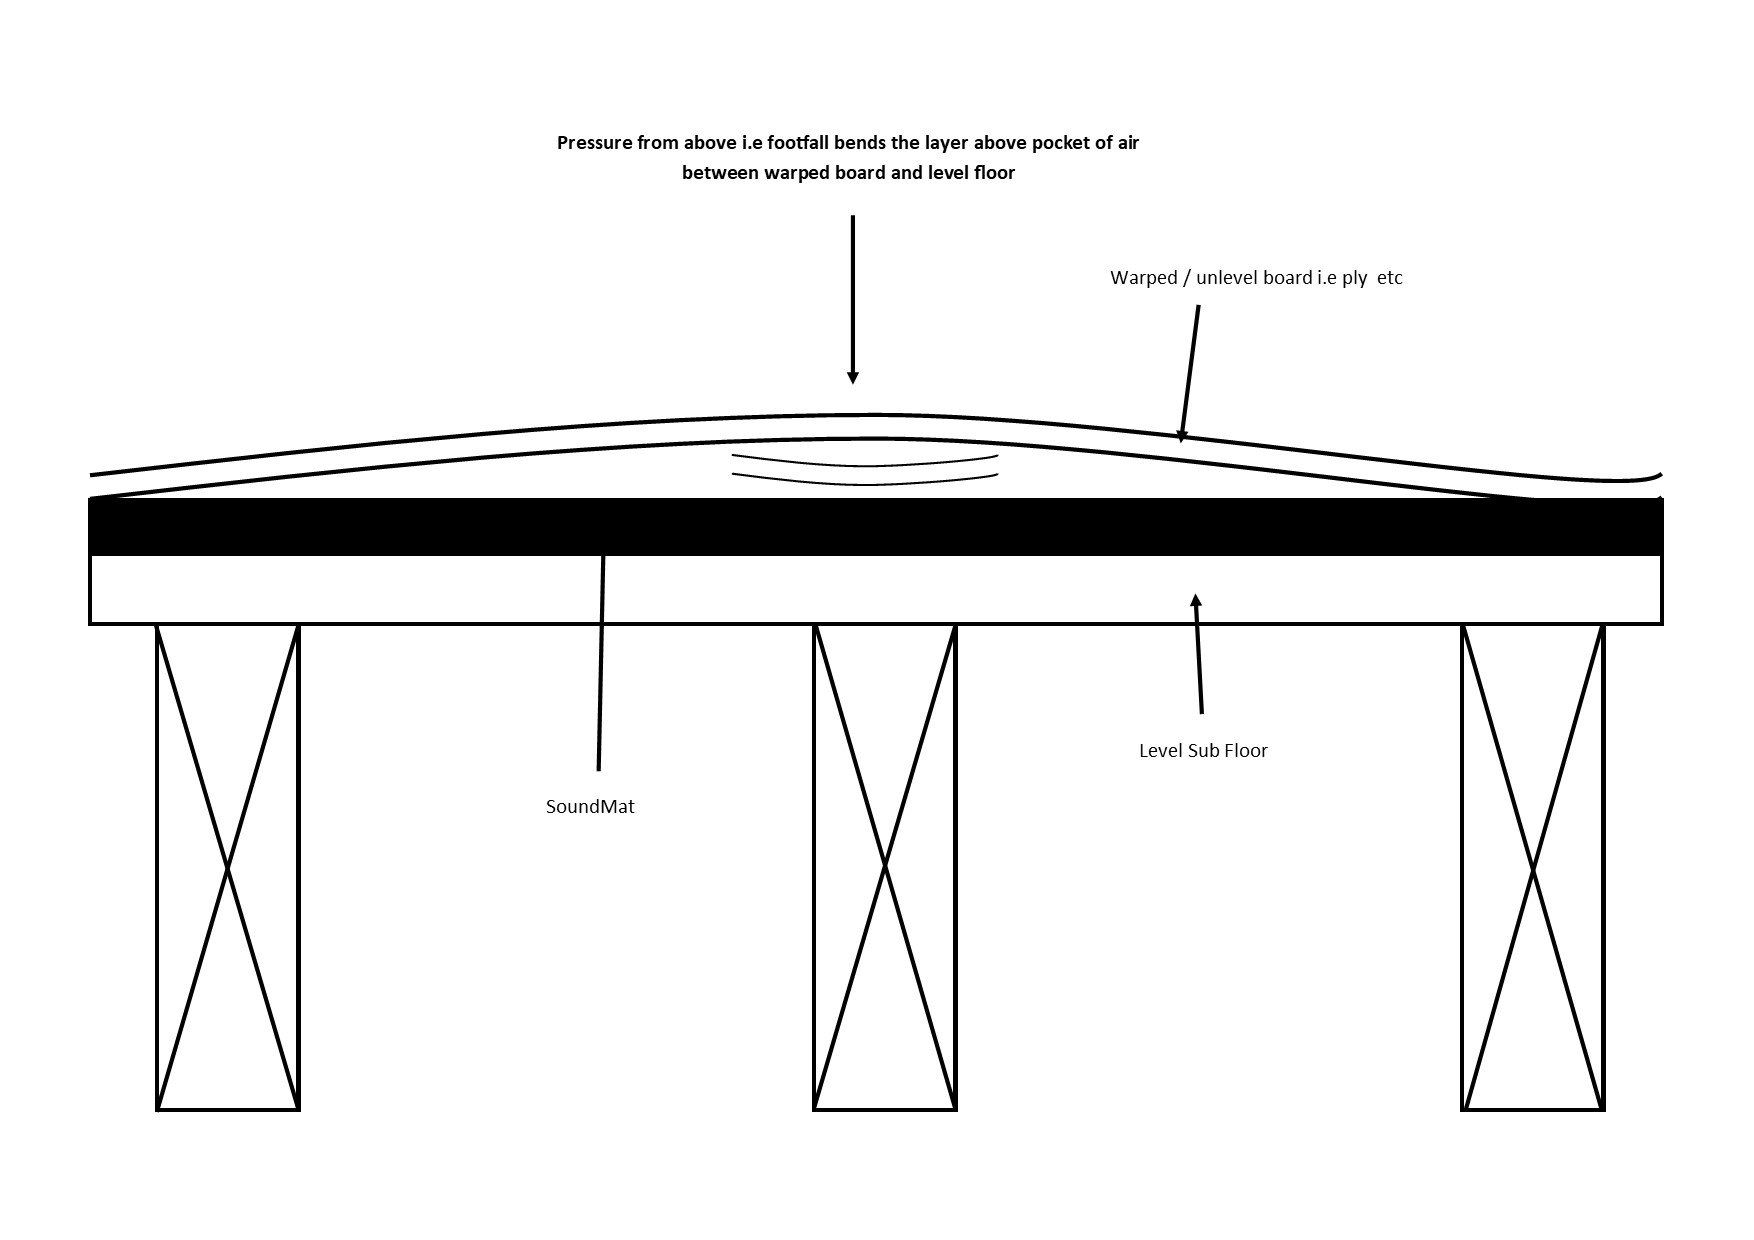
As a rule of thumb, if you have laid soundproofing and the top of the soundproofing is playable (such as mass loaded vinyl) then you will need a stabilising / overboarding layer prior to installing hard floor finishes. If this doesn't happen, then it can create problems such as:
- An unstable base when walking
- Movement in the final floor finish
- Warping and cracking of the final hard floor finish
Final checklist
- Always ensure a flat, even subfloor prior to laying soundproofing. Especially important for hard floor final finishes
- Choose the most suitable acoustic insulation depending on the level and type of noise you are trying to block, and be mindful of the final floor finish
- Check if the soundproofing requires an overboarding layer (important for all hard final floor finishes) prior to laying the final finish
- If you have any questions at all, the best advice is to 'do it once and do it right'' and speak to an expert.
Share
"We don’t expect you to become an overnight expert in soundproofing, that’s what we’re here for."
